Quick start
Go live in about ten minutes, without writing a line of code. Everything on this page is done in a browser or a hosting control panel.
-
Create an empty database
In your hosting control panel, create a MySQL database and a user with full
access to it. Write down the database name, user and password.
Expected: the control panel lists a new, empty database.
-
Upload Vantage
Extract the download and upload it so that your domain's document root points
at the
public/folder. On most shared hosts that means uploading the contents ofpublic/intopublic_html/and the rest of the application one level above it.Expected: visiting your domain shows the Vantage installer rather than a file listing or a 500 error.
-
Open your site in a browser
You are redirected to
/installautomatically. The first screen checks your server and tells you exactly what to do about anything missing.Expected: every line has a green check and the Continue button is enabled.
-
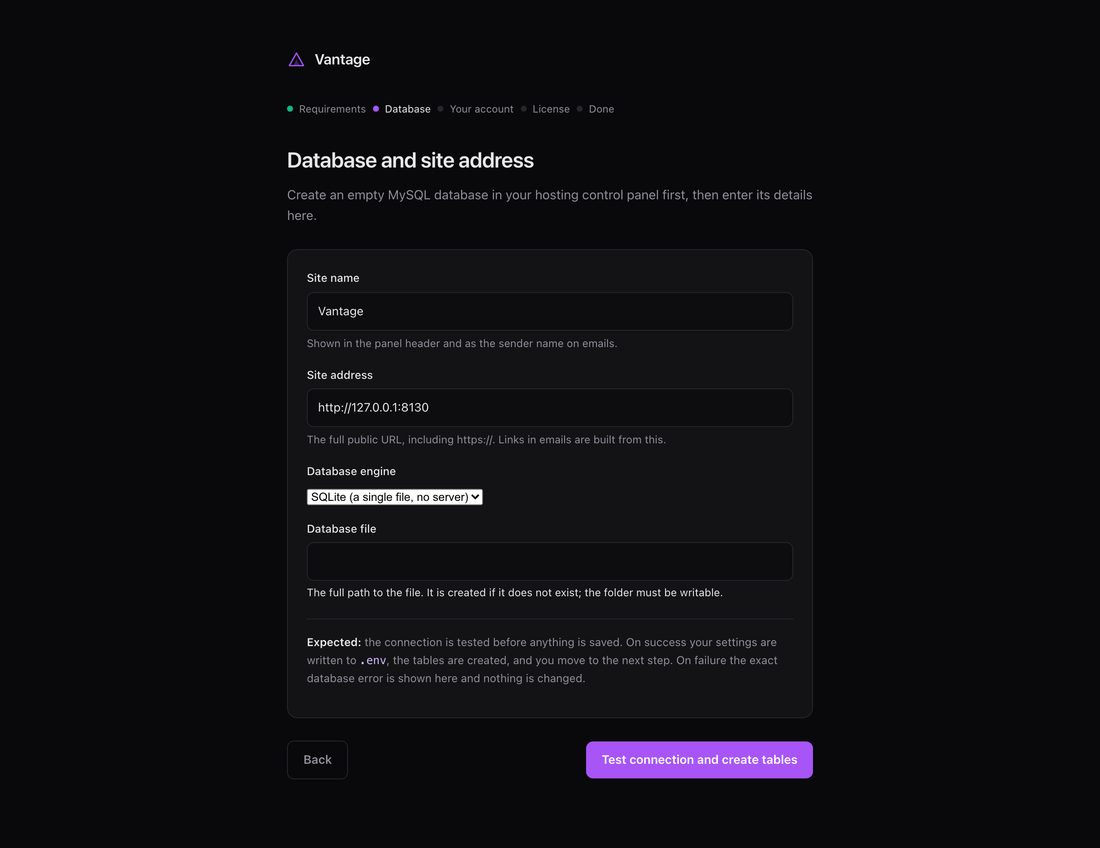
Enter your database details
Vantage tests the connection before saving anything, then writes your
settings and creates the tables.
Expected: you move straight to the account step. If the details are wrong you stay on the form and see the exact database error.
-
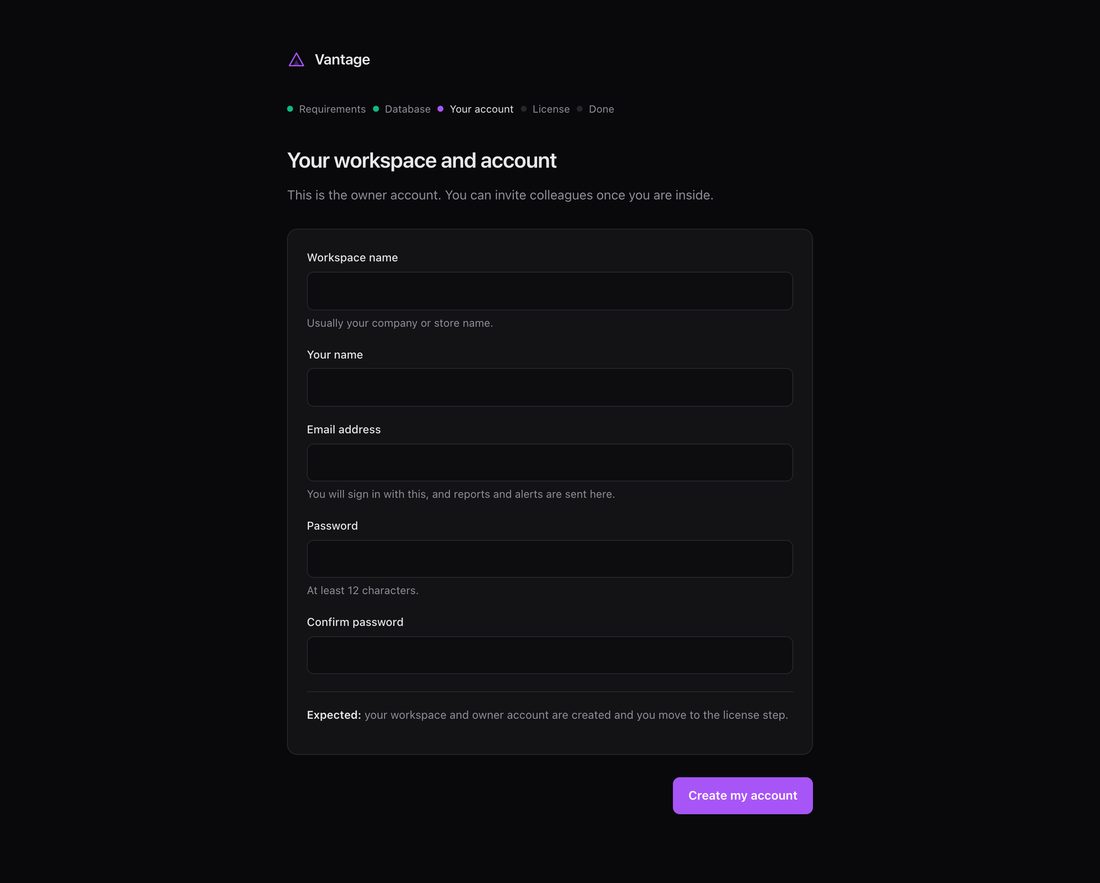
Create your account
Your workspace name, your name, your email and a password of at least twelve
characters.
Expected: you move to the license step.
-
Enter your purchase code
It is on your Envato downloads page, beside this item, under “License
certificate & purchase code”. You can also skip this and enter it
later.
Expected: the code is accepted and you reach the final screen. See Your license if it is not.
-
Add the scheduler to cron
This is the one step that is not in the browser, and Vantage does nothing on
a schedule without it. In your control panel's cron section, add a job that
runs every minute:
The final installer screen prints this line with your real path already filled in.cd /path/to/vantage && php artisan schedule:run >> /dev/null 2>&1Expected: within an hour of connecting a store, its Connected Stores row shows a recent collection run.
-
Sign in and connect a store
Follow Connecting your first store.
Expected: reviews start arriving within the hour. Your first weekly report is generated once there is a full week of reviews behind it.
What happens next
| When | What Vantage does |
|---|---|
| Within the hour | Collects the first batch of reviews and scores their sentiment |
| Every few hours | Checks for sentiment drops, negative spikes and collection failures |
| Weekly | Writes a full report per store and emails it to you |