Installation
Vantage ships with a web installer: upload the files, open your site in a browser, and answer four screens. If you would rather do it from a terminal, the manual route is at the bottom of this page.
Server requirements
| Requirement | Version | Notes |
|---|---|---|
| PHP | 8.3 or newer | With curl, dom, fileinfo, json, mbstring, openssl and pdo |
| Database | MySQL 8+, MariaDB 10.6+, PostgreSQL 13+ or SQLite 3.35+ | SQLite is fine for a single store |
| Composer | 2.x | Only if you install from source rather than uploading vendor/ |
| Node.js | 20+ | Only if you want to rebuild the CSS. The compiled assets are included. |
| Cron | — | Required. Vantage collects and reports on a schedule. |
sodium extension is optional. It makes
license signature checks faster. Vantage bundles a pure-PHP fallback, so a host
without it works exactly the same. The installer tells you which one you have.
Installing with the web installer
-
Upload the files
Point your domain's document root at the
public/directory — not at the project root. On shared hosting that usually means putting the contents ofpublic/intopublic_html/and the rest of the application in a sibling folder, then editing the tworequirepaths at the bottom ofpublic_html/index.phpto point at it.Expected: visiting your domain redirects to
/install.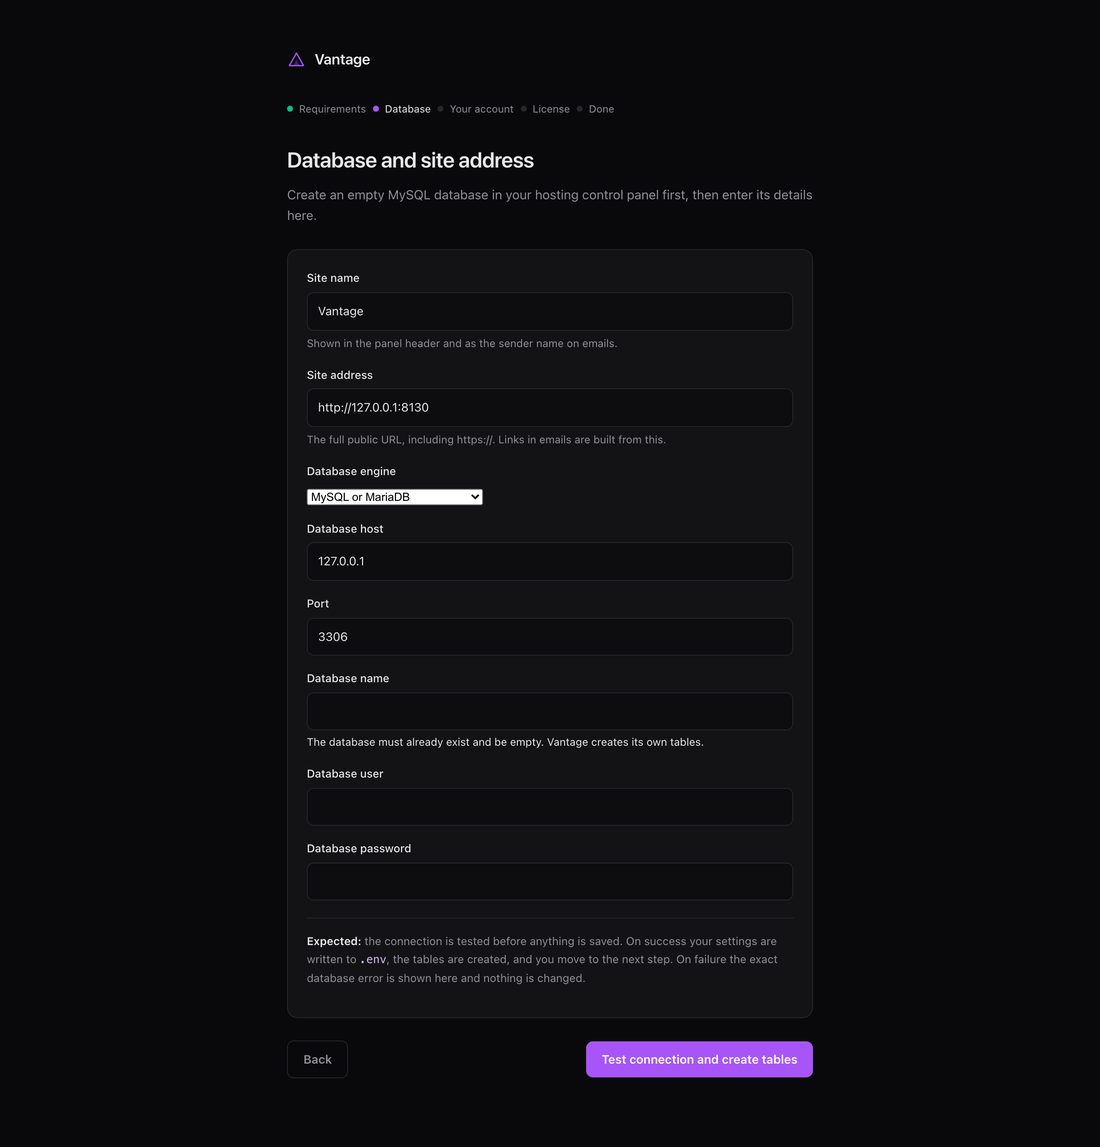
Database details. The connection is tested before anything is written to .env. 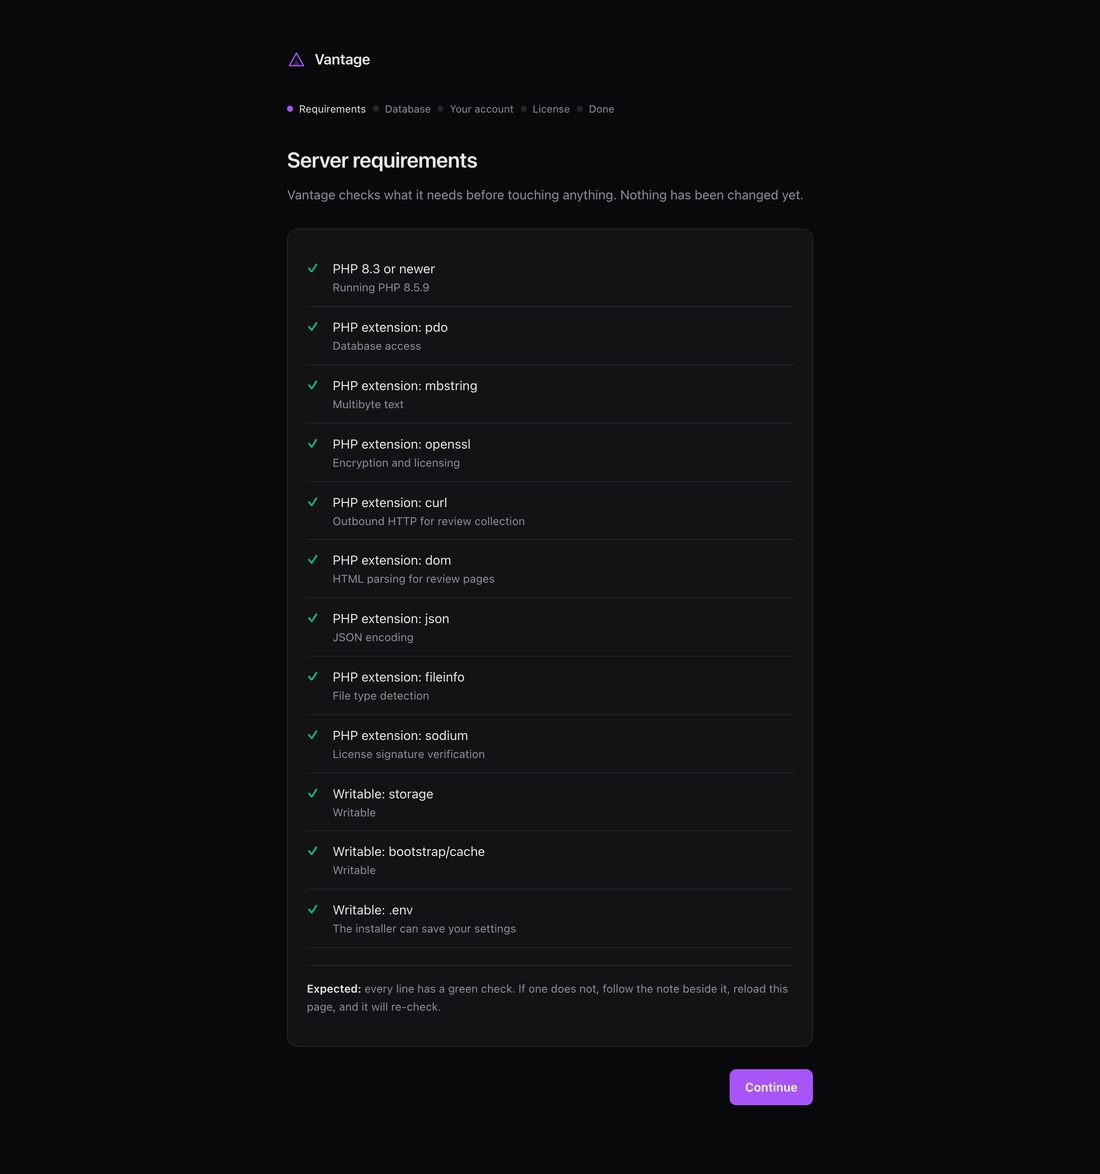
The first installer screen checks the server and prints the exact fix beside anything missing. Nothing has been changed at this point. -
Install dependencies
If your host has Composer:
If it does not, run that command on your own machine and upload the resultingcomposer install --no-dev --optimize-autoloadervendor/folder.Expected: a
vendor/directory exists besideartisan. -
Open your site
The installer checks your PHP version, extensions and folder permissions, and
prints the exact command to fix anything that is not right.
Expected: every row has a green check.
-
Database and site address
Create an empty database in your control panel first, then enter its details.
The connection is tested before anything is written.
Expected: your settings are saved to
.env, the tables are created, and you move to the next screen. On failure nothing is changed and you see the exact database error. -
Your workspace and account
Expected: you can sign in with these details once installation finishes.
-
Your license
Enter your purchase code, or skip and enter it later from
Settings → License.
Expected: the code is accepted. See Your license if it is not.
-
Add the cron entry
The final screen prints the exact line, with your real path filled in. Add it
in your control panel, set to run every minute.
Expected: within an hour of connecting a store, its row shows a recent collection run.
storage/app/installed.lock; deleting it re-opens the
installer, which is worth knowing and worth not doing on a live site.
Installing from the command line
If you prefer a terminal, skip the installer entirely:
composer install --no-dev --optimize-autoloader
cp .env.example .env
php artisan key:generate

# edit .env: APP_URL, DB_*, and VANTAGE_USER_AGENT

php artisan migrate --force
php artisan storage:link
php artisan config:cache

# create the lock file so the web installer stays closed
touch storage/app/installed.lock
Then create your first workspace and owner. The quickest way is the demo seeder, which also gives you sample data to look at:
DEMO_PASSWORD=choose-a-strong-one php artisan db:seed --forceExpected: the command prints the accounts it created and their password.
Setting your bot identity
This is not optional. Vantage identifies itself honestly to every site it reads, and the default value points at an example domain.
VANTAGE_USER_AGENT="YourCompanyBot/1.0 (+https://yoursite.com/bot; review analytics for the store owner)"Put a real page at that URL saying who you are and how to be contacted. See Troubleshooting for what happens when a site blocks you.
The cron entry
* * * * * cd /path/to/vantage && php artisan schedule:run >> /dev/null 2>&1That single entry drives everything on a schedule:
| Task | When |
|---|---|
| Collect reviews for stores whose interval has elapsed | Hourly |
| Generate weekly reports | Daily, at your configured hour |
| Check for sentiment drops and collection failures | Every six hours |
| Re-check the license | Weekly |
| Prune old runs and usage logs | Weekly |
Verifying the install
php artisan vantage:mail-test [email protected]   # outbound email
php artisan vantage:license --check             # license status
php artisan vantage:chat-test                   # live chat, if enabled
php artisan schedule:list                       # scheduled tasks
Optional: rebuilding the CSS
The compiled assets ship with the download, so this is only needed if you change the theme.
npm install
npm run build